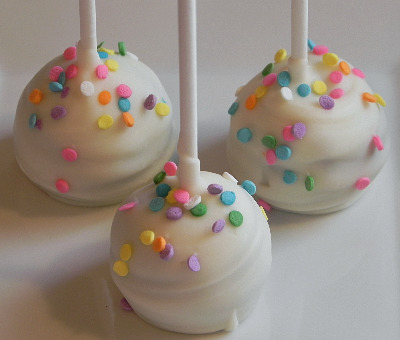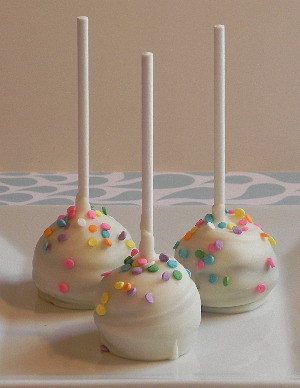
I’ve been seeing these adorable cake pops all over the internet lately and have been dying to try them. So when we were invited to a 3 year olds birthday party this past weekend, I thought they’d be perfect!
I made my cake pops with a devil’s food chocolate cake mix but you can use any flavor your heart desires. I’m not gonna lie, they were kinda time consuming to make.
I also had a hard time with the chocolate at first till I got the hang of it. My tip to you, add a little Crisco to the melted chocolate to get it thinner and easier to dip and coat the cake pops.
I do love the way the cake pops turned out though and they were a giant hit at the party. Everyone couldn’t believe that they were homemade. Oh, and they tasted delicious too!


Ingredients:
- 1 devil’s food cake mix
- 1 tub of store bought cream cheese icing
- lollipop sticks
- Nestle white chocolate chips
- decorative sprinkles
Directions:
- Make the devil’s food cake mix according to package directions and let it cool completely (I made mine the night before).
- Crumble the cake in a large mixing bowl til you have just a bowl of crumbs, no large pieces. Start adding the cream cheese icing until you get a wet, almost mud type consistency. You want it wet enough to be able to roll into small balls.
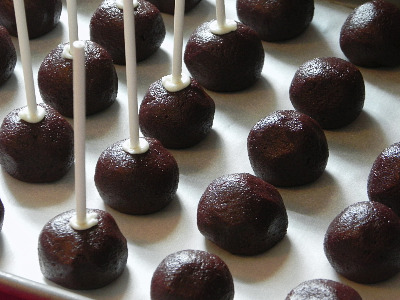
- Roll cake into 1 & 1/2? round balls and place on parchment lined cookie sheet. Once balls are all rolled, place trays into the freezer for about 20 minutes to get them firmed up a bit.
- Melt a few chocolate chips in a small bowl, this will be used to secure your sticks. Remove cake balls from the freezer, dip ends of sticks in chocolate and them into the cake balls. he chocolate will act like a glue for the sticks. Place cake pops back into the freezer for an hour or two.
- Melt a larger amount of chocolate in the microwave, stirring often. Add small amounts of regular Crisco until you get a nice smooth, thinner consistency.
- Dip chilled cake pops into the chocolate, turning to coat all the sides. Place on parchment paper and top with sprinkles, if desired.
- Once all cake pops are dipped in chocolate, store them in the refrigerator until you are ready to serve them.


Wow…these look gorgeous. I’m sure they would all disappear in a minute in my house 😀 I would love to try. Thanks very much for sharing.
MaryMoh recently posted..Double Chocolate Cookies
I’m confused – the first pictures show white covered cake pops but instructions aren’t there for that step.
Mary, The dipping directions start at step number 5 above.
Very cute.
Baking is my Zen recently posted..Baking is my Zen announces WINNER of the Cookbook Giveaway 8-18-10 –Baked Explorations- Classic American Desserts Reinvented
Thank you!
These are out-of-this-world delicious! And following the red velvet recipe to a tee was perfect. I used Nestle Vanilla chips and the step where you use a few of them as a “glue” was invaluable! I split the bag of chips into 3rds and, after microwaving them for 40 sec, I found I needed 20 sec more…at that time, I added about 1 tsp of crisco to thin it out.
Also, to make the “cake pops” look a bit more appealing, using sprinkles was perfect!!!
Thank you for a recipe I am certain to use time and time again 🙂